
How To Install an AC Sound Blanket
Thank you for purchasing a Tone Wrap AC Sound Blanket. These instructions apply to compatible residential air conditioner and heat-pump compressors.
Follow each step carefully to achieve proper compressor coverage, sealing, and fit.
⚠️ Danger: Electric Shock – Risk of serious injury or death
Installation involves working near electrical equipment. Shut off power before beginning. If you are not comfortable accessing the compressor, have installation performed by a qualified HVAC technician.
Before installing:
- Turn off power to both indoor and outdoor units at the main disconnect.
- Check for multiple disconnect switches.
Do not rely on the thermostat — power may still be live at the AC unit.
| ⚠️ Warning: Fiberglass Dust This product contains either fiberglass insulation or Polyester insulation. Handling may release dust. Wear gloves, eye protection, long sleeves, and a dust mask. |
| Estimated installation time 30 minutes |
| The same installation process applies to both air conditioners and residential heat pump compressors. |
Included with Tone Wrap Standard
- Two-piece Tone Wrap compressor blanket
- One roll of acoustic seam tape
- Installation instructions
Included with Tone Wrap Premium
- Two-piece Tone Wrap compressor blanket
- Two rolls of acoustic seam tape
- Compression strap
- Installation instructions
The included acoustic seam tape closes small openings where compressor sound can escape. Properly sealing the blanket seams is an important part of the installation and helps Tone Wrap provide its best performance.
Tone Wrap Premium includes additional seam tape and a compression strap for a tighter fit and improved sealing.
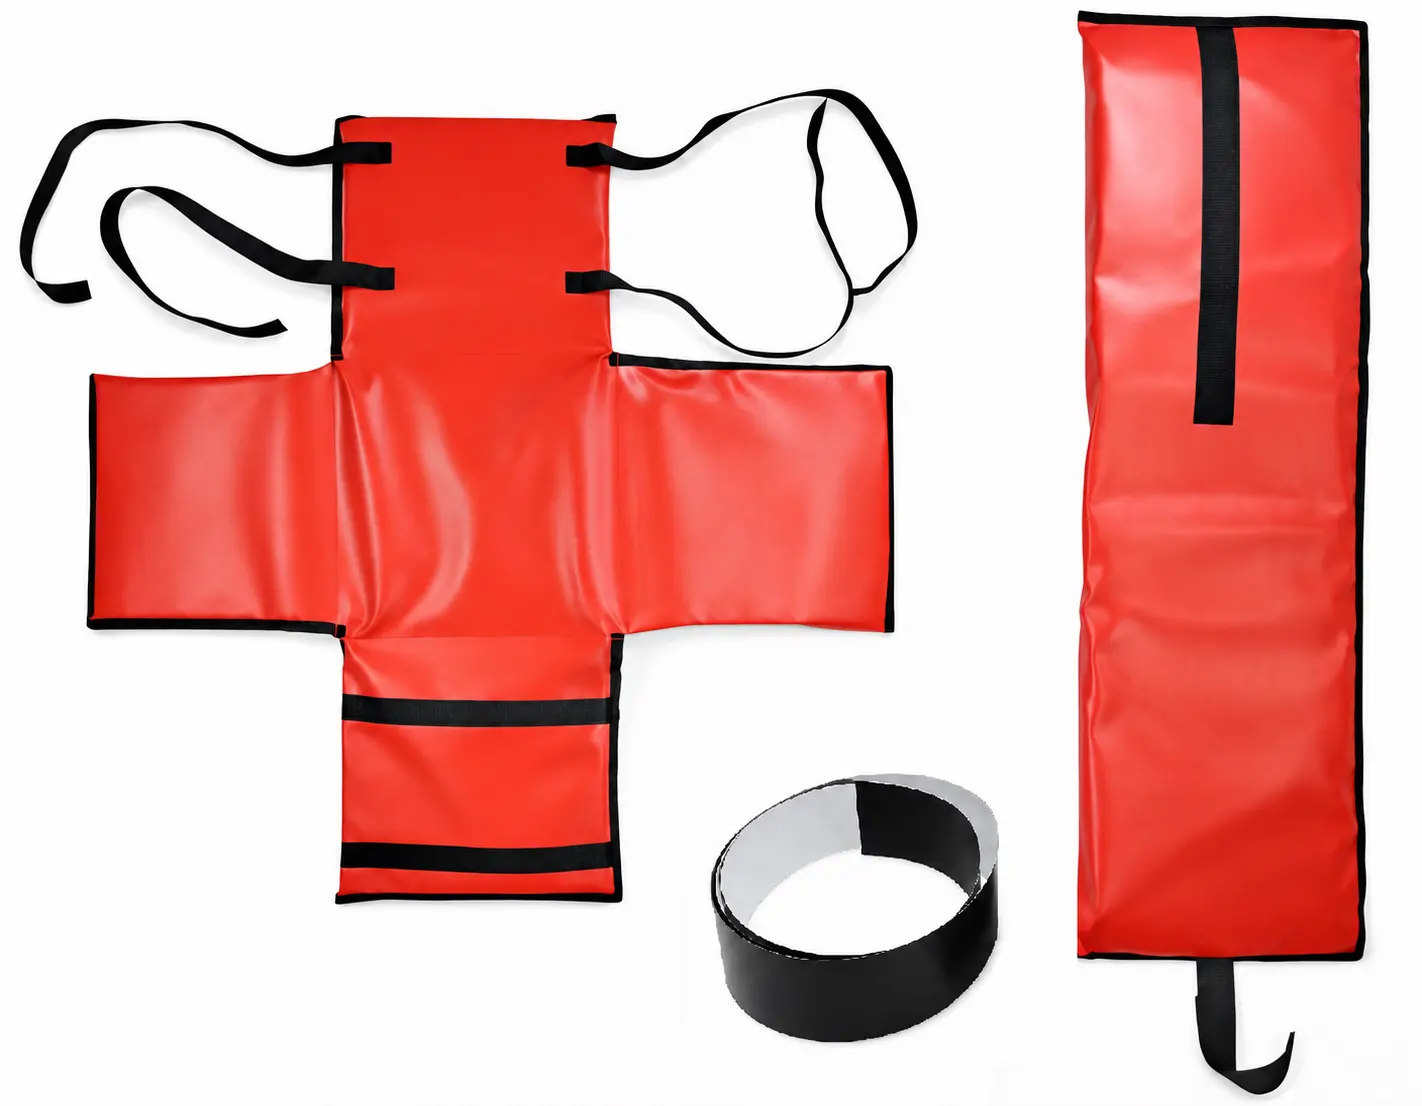
Tools You May Need
- Safety glasses
- Gloves
- Dust mask
- Screwdriver or nut driver
- Cutting shears or utility knife
Before you begin
✓ Turn off power
✓ Read all instructions
✓ Verify all parts are included
Now for the AC sound blanket installation instructions
Step 1
Shut Off Power
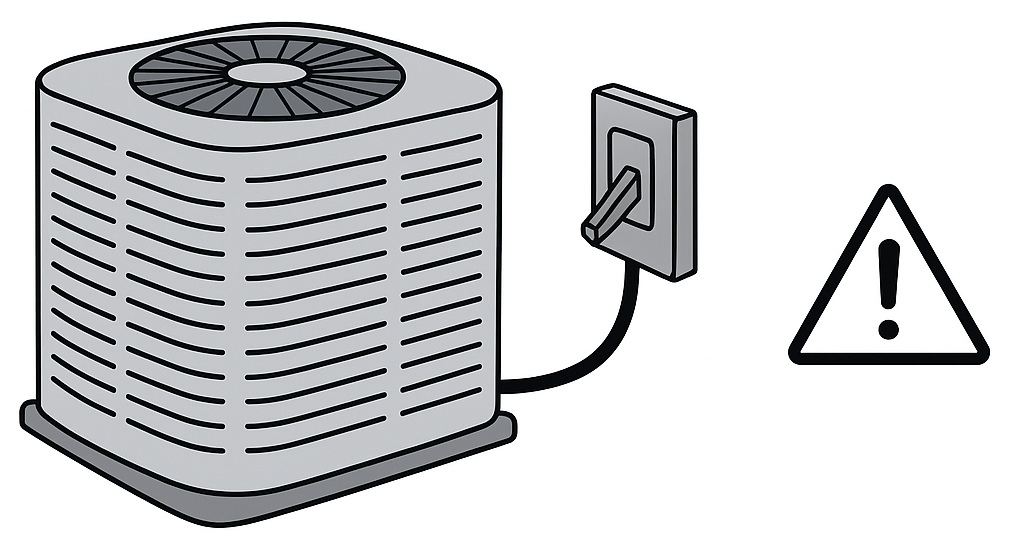
Confirm that all electrical power to the unit is turned off. More than one disconnect switch may exist and turning off thermostats may not shut off power to the AC unit.
Step 2
Remove the Top Cover
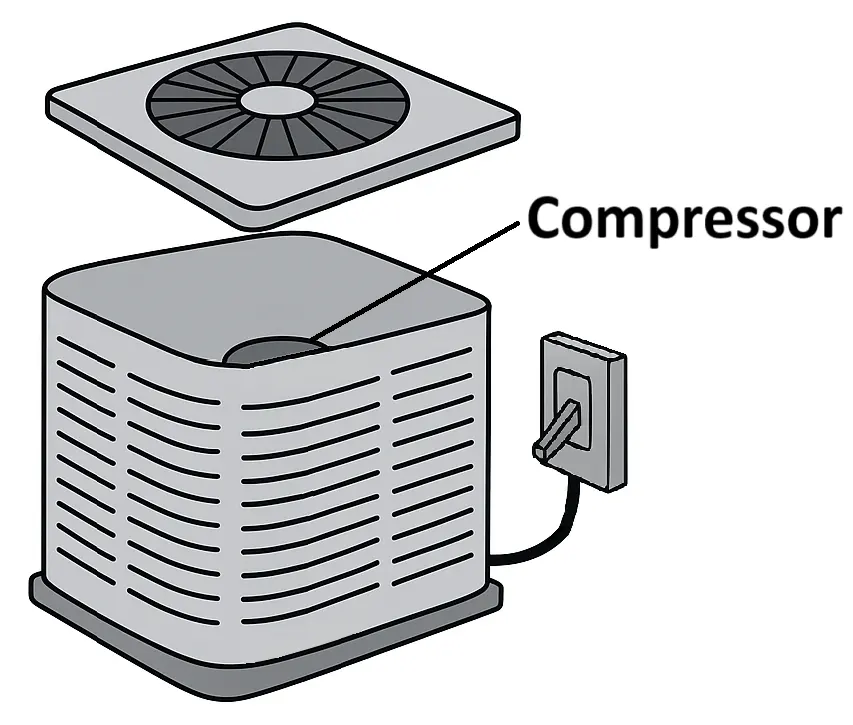
Remove the top cover of the condensing unit to reach the compressor. Do not disconnect or remove any electrical wiring. Be careful not to damage coil fins.
Step 3
Loose Fit the Upper Portion of Tone Wrap
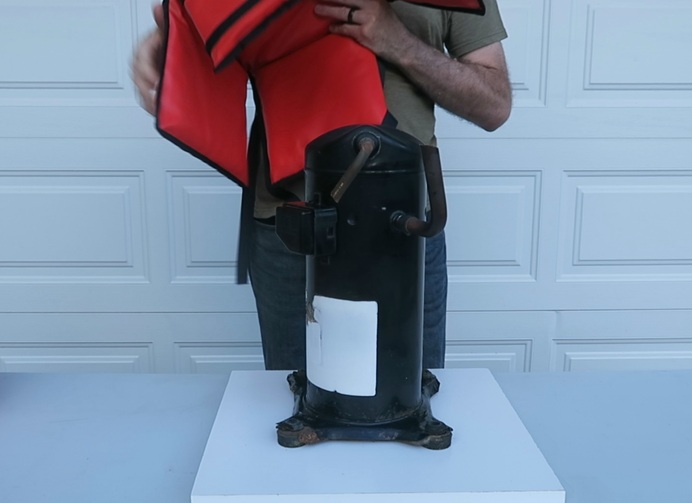
Position the top piece of the blanket over the compressor so one of the copper discharge pipes exit through one of the side openings. Fold the sides down loosely around the compressor.
Step 4
Route Refrigerant Lines Through Blanket
If compressor piping requires additional clearance, cut a horizontal slit in the blanket with shears.
Mark a horizontal line where to cut a slit into the Tone Wrap.
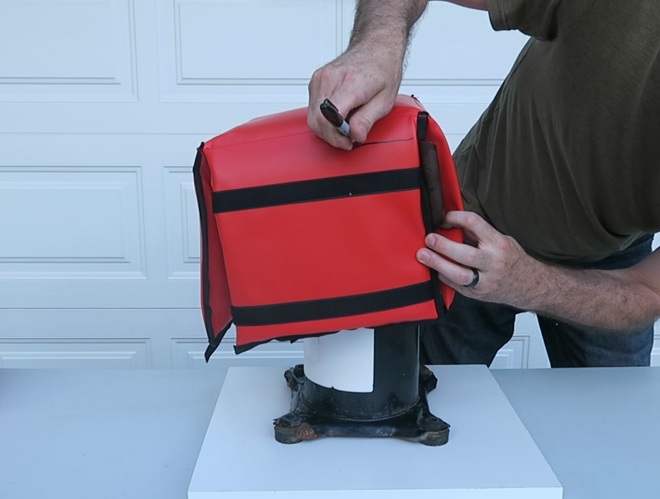
Position the upper blanket on the compressor to check for fit.
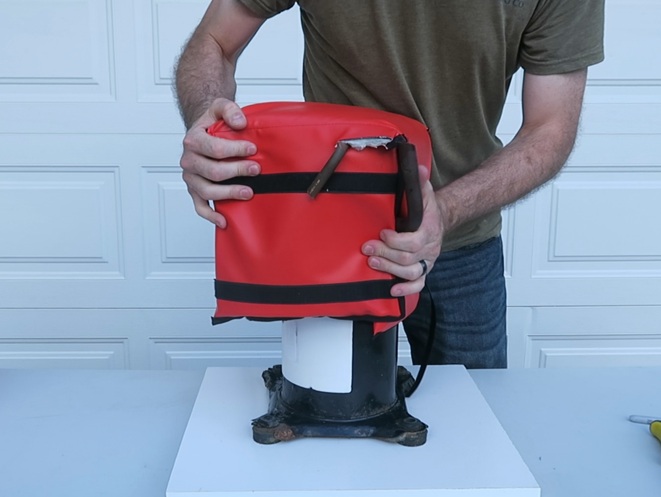
Use shears or a utility knife to cut a horizontal slit in the blanket.
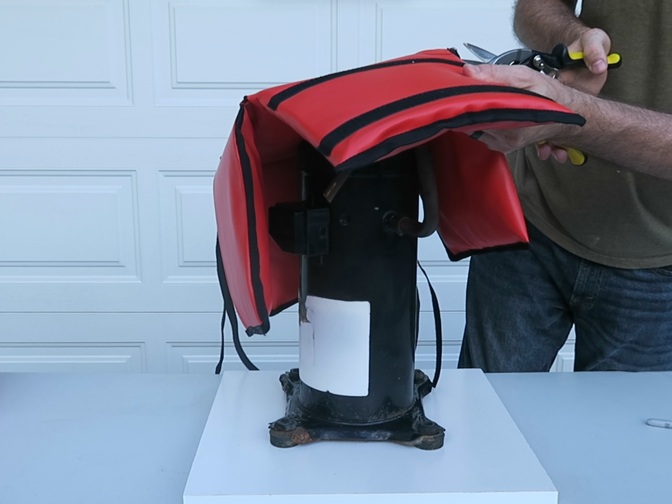
Tightly fasten with the Velcro straps, avoiding pipes or wires.
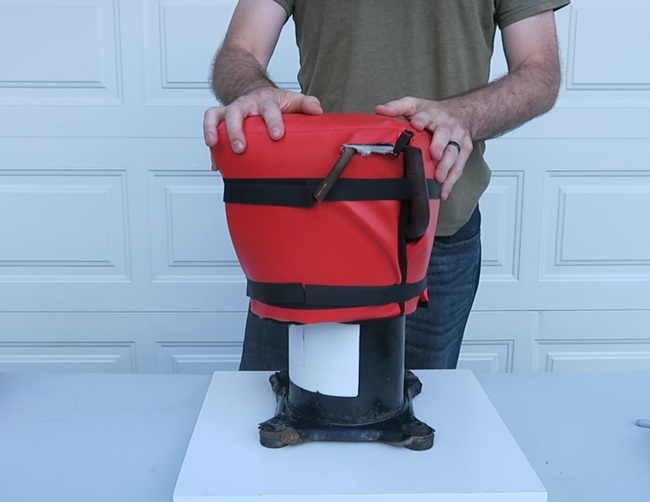
Step 5
Apply Seam Tape to Upper Section
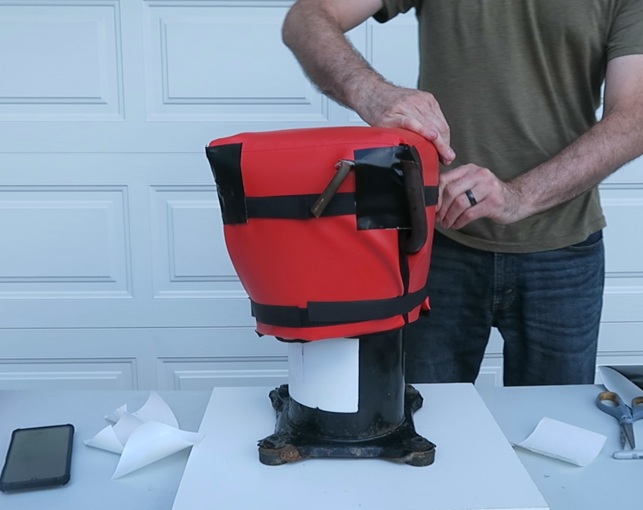
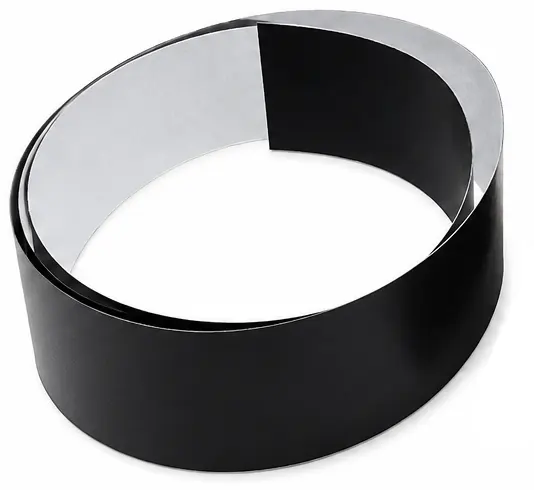
Use a utility knife to cut four 4-5” pieces of the provided Tone Wrap Acoustic Seam Tape. Remove the adhesive backing and place one over each of the four corner seams to seal any gaps.
Step 6
Install the Lower Blanket and Seal Remaining Gaps
Position the lower blanket around the bottom portion of the compressor.
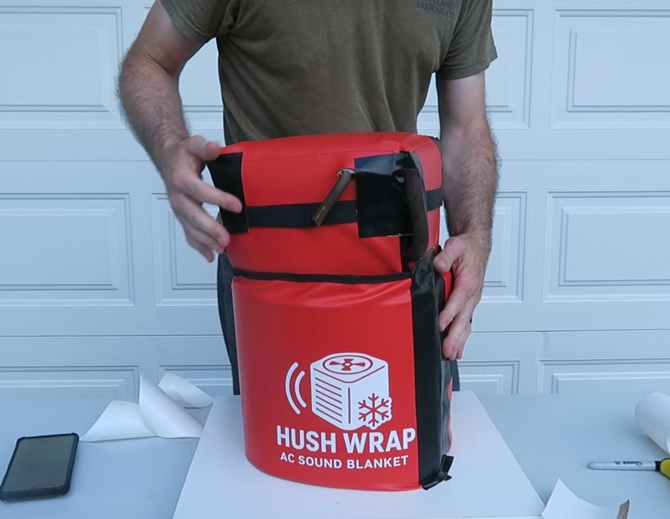
Apply remaining tape around pipe openings or other visible gaps where compressor sound could escape.
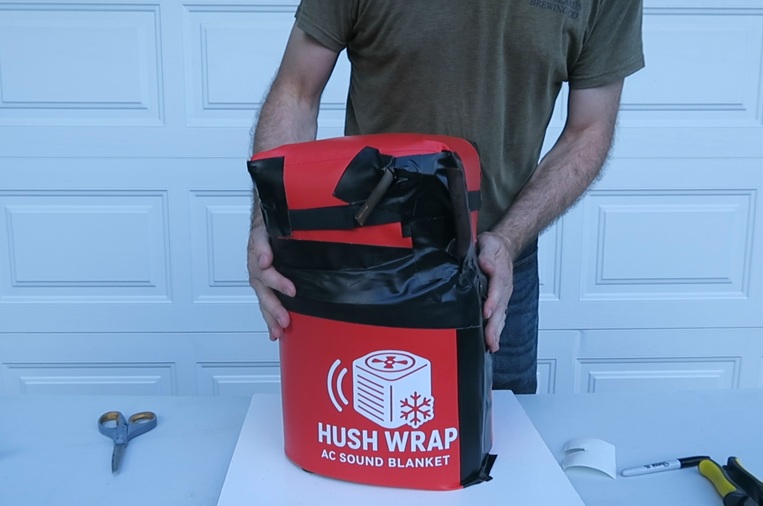
Use the included acoustic seam tape to seal the vertical seam and the joint between the upper and lower blanket sections.
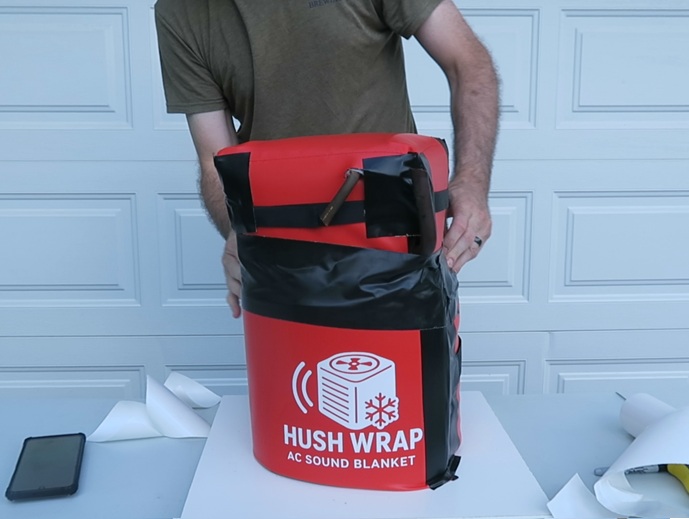
Step 7 — Tone Wrap™ Premium
Install and Tighten the Compression Strap
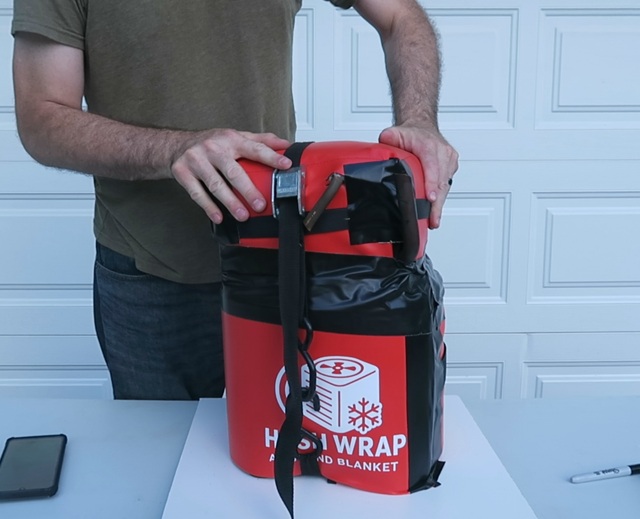
Tone Wrap Premium includes a compression strap that can help reduce gaps beneath the blanket and create a tighter fit around the compressor.
Route the strap only through a safe path beneath the compressor or through suitable mounting points. Tighten it enough to apply gentle downward pressure without deforming the compressor blanket or stressing nearby components.
Do not route the strap around refrigerant lines, electrical wiring, hoses, fan components, or fragile parts.
Secure or trim excess strap material so it cannot contact the fan or other moving components.
Step 8
Finish up
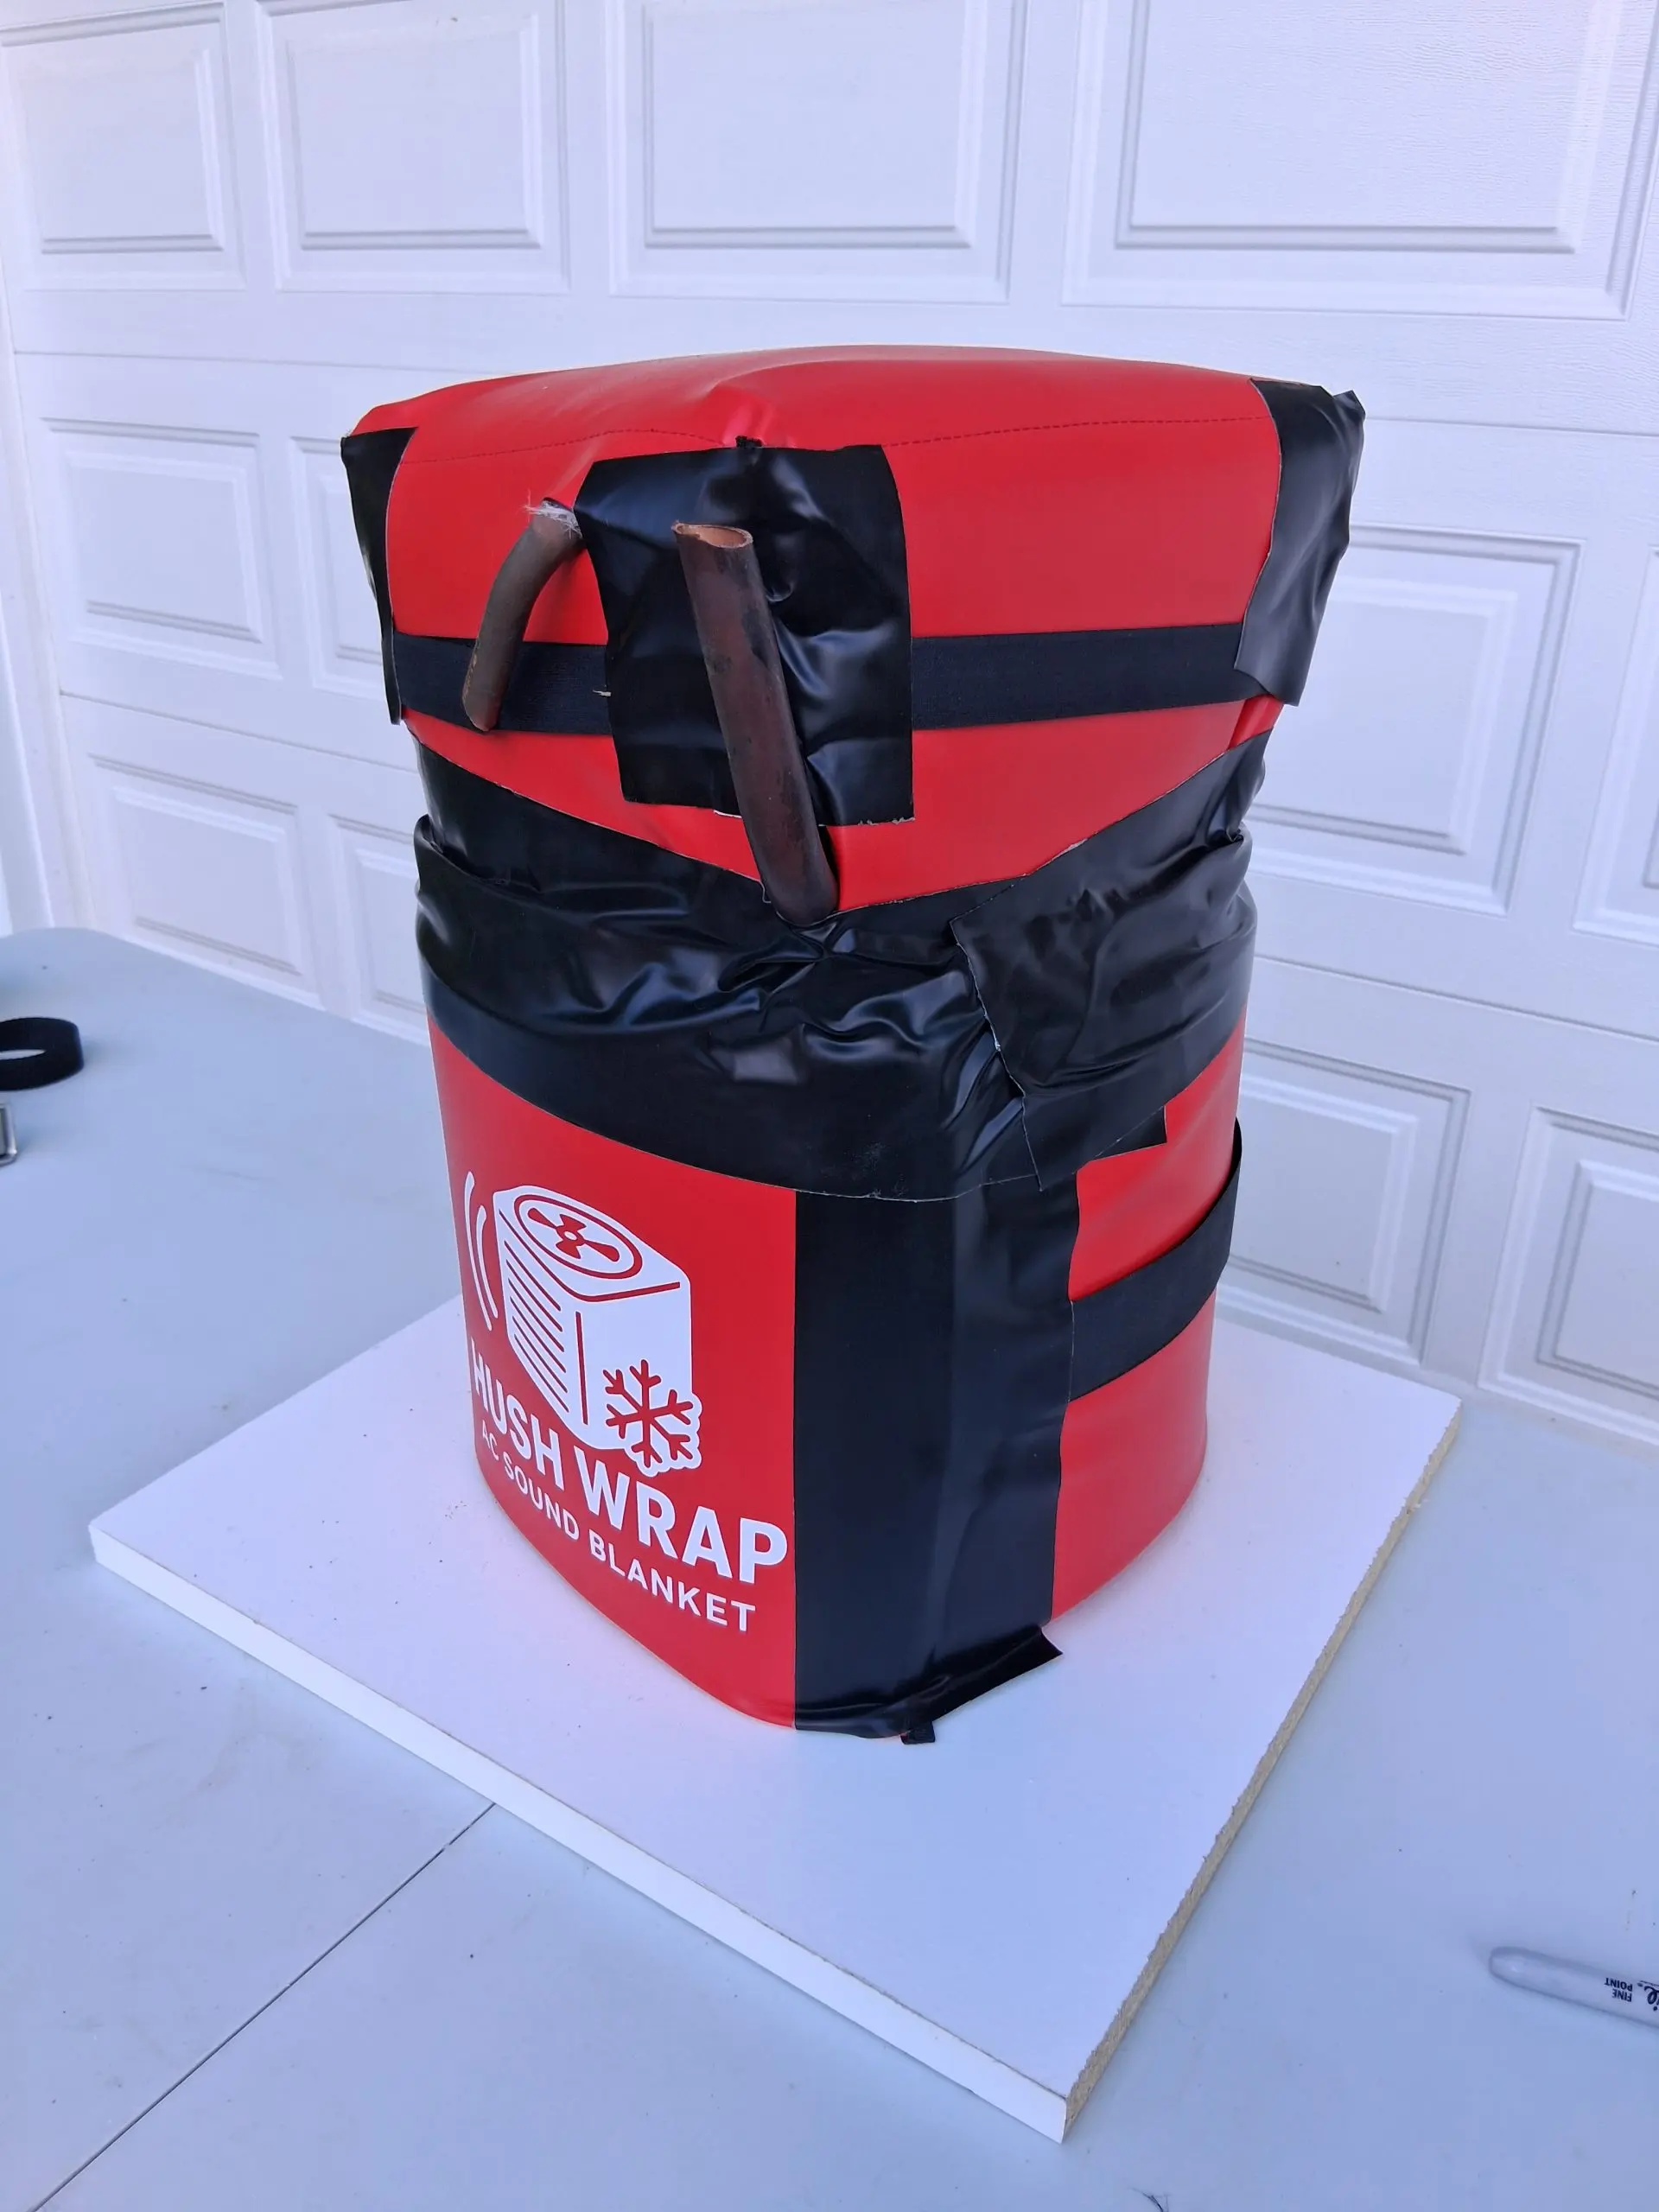
Inspect your work
Inspect your work to confirm the blanket is secure, visible gaps are sealed with seam tape, and nothing can contact the fan blade or moving parts.
Reinstall AC Cover
Reinstall the condenser top cover and fasten all hardware.
Restore power and test the air conditioner.
Why We Include Acoustic Seam Tape
Small openings can allow compressor sound to escape. The included acoustic seam tape helps close seams, pipe openings, and other gaps to create a more continuous acoustic barrier.
Our testing showed that careful seam sealing can noticeably improve performance, which is why acoustic tape is included with every Tone Wrap.
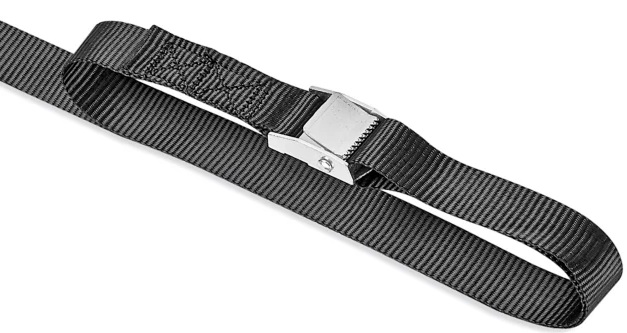
Tone Wrap™ Premium Compression Strap
The Premium compression strap helps hold the blanket more tightly around the compressor and reduce gaps beneath the lower section.
In our testing, the Premium installation method provided additional compressor-noise reduction compared with the Standard installation. Results vary by compressor shape, fit, operating conditions, and installation quality.
Why This Works With Tone Wrap™
Tone Wrap’s multi-layer construction helps it maintain coverage while the compression strap applies gentle, even pressure. The strap should never be overtightened or used to crush the blanket against the compressor. This allows the optional strap to improve the acoustic seal instead of simply crushing the insulation. It’s one of the small engineering details that helps Tone Wrap deliver better noise reduction than a blanket alone.
Looking for additional noise reduction? Read our guide to reducing outdoor air conditioner and heat-pump noise, including vibration pads and sound barriers.
Need Help?
If you have questions during AC sound blanket installation, contact us and we’ll be happy to help.